Airtable is quite an amazing product!
It’s half database, half spreadsheet, but most of all, easy to use, intuitive, great UI and UX, and a great API.
Their API docs are the best you can imagine, they even inject your keys and table names in the examples, to make it even easier to start.
I wrote an extensive Airtable tutorial at https://flaviocopes.com/airtable/. Go check it out before continuing, as I won’t repeat the basics there, but just go in-depth into using it in the project.
In our Node server we receive the data from the form.
Let’s first setup Airtable. Once you sign up, create an empty base. Call it “Email Newsletter Signups” or something else you like.
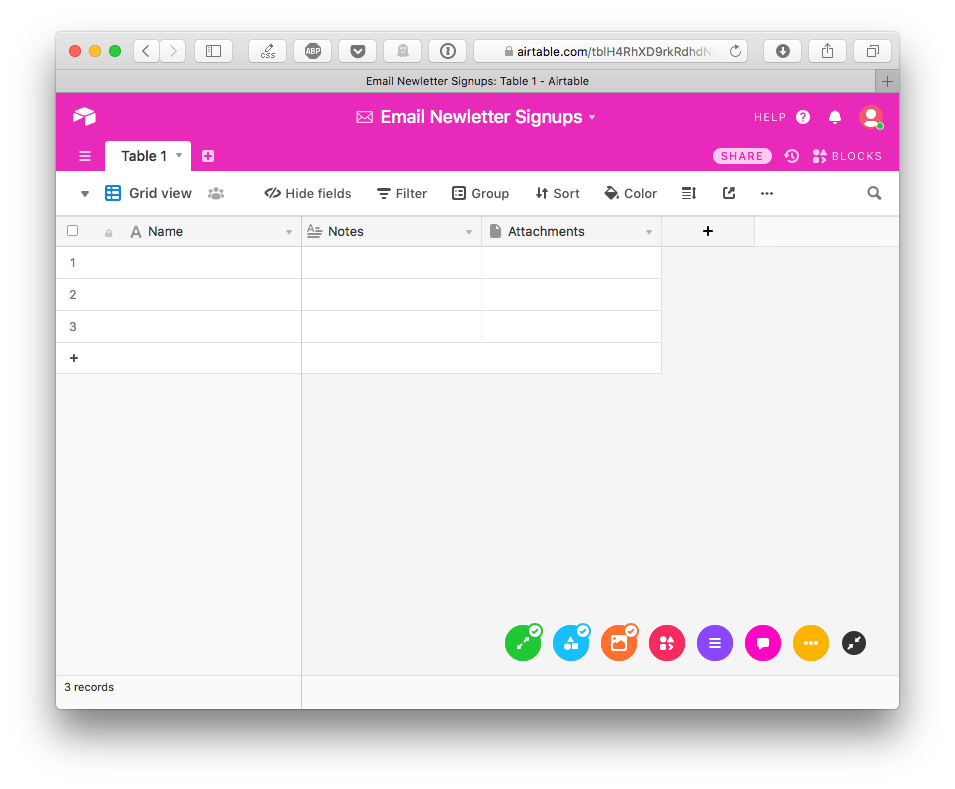
By default you have 3 columns:
- Name
- Notes
- Attachments
Remove the last 2, and add
- “Email” of type Email
- “Date” of type Date, including time
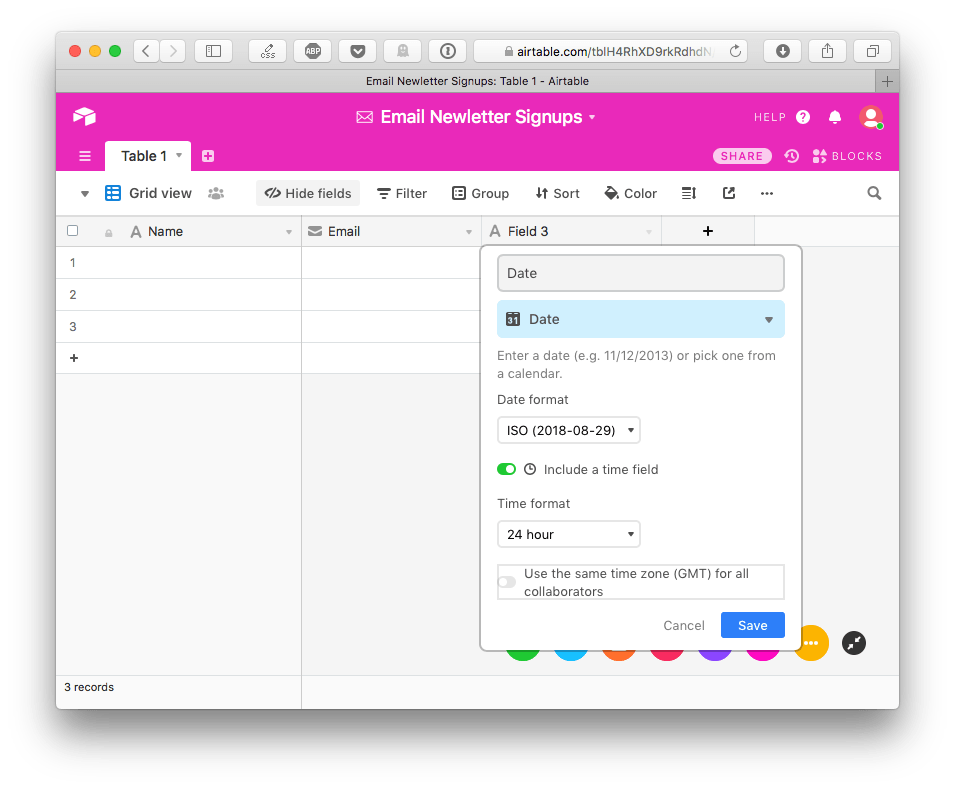
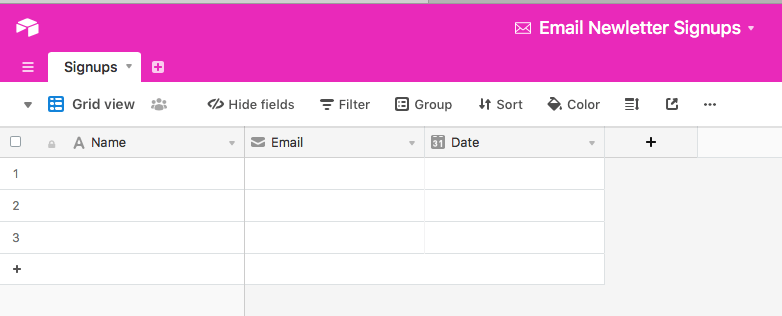
Rename “Table 1” to “Signups” to give it a better name.
Airtable is nice because they have a great API documentation. You can see it at Help -> API documentation. They also provide Node.js examples, which is very nice for this course.
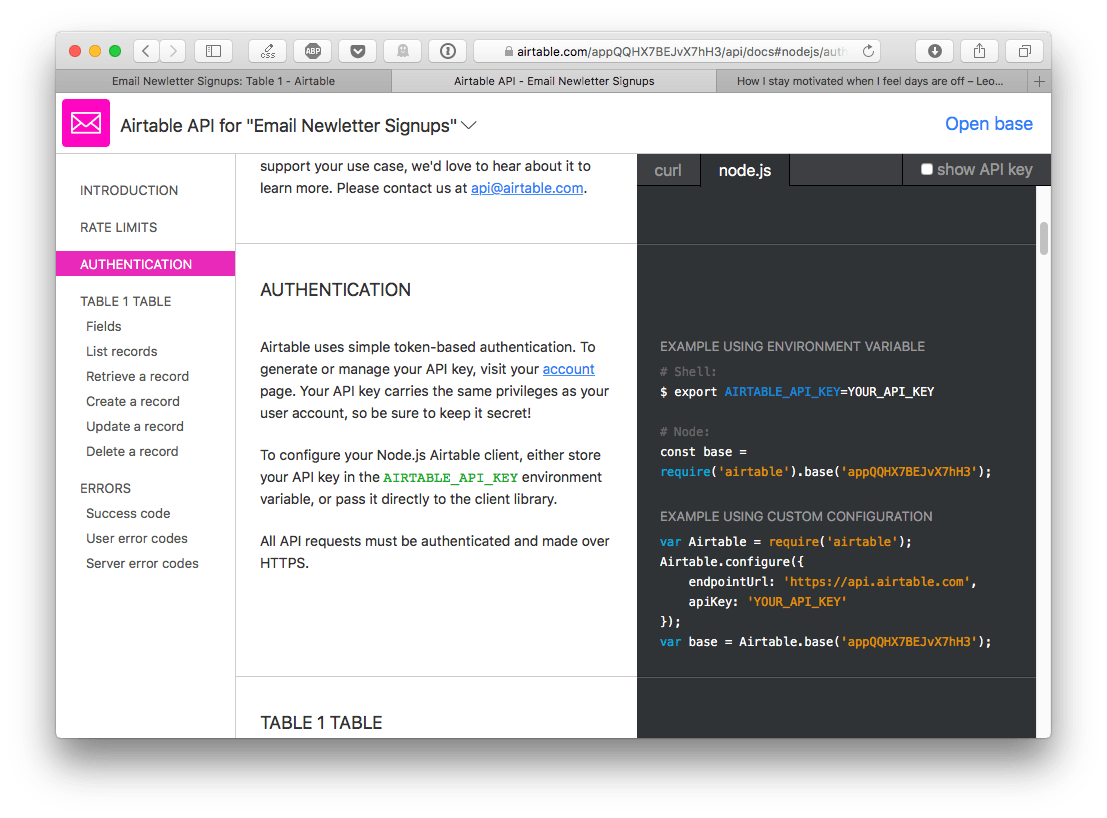
Plus, for us Node.js fans, they have an official Node client library: Airtable.js
Switch back to Glitch now, and open the package.json file. Click Add Package and search “airtable”:
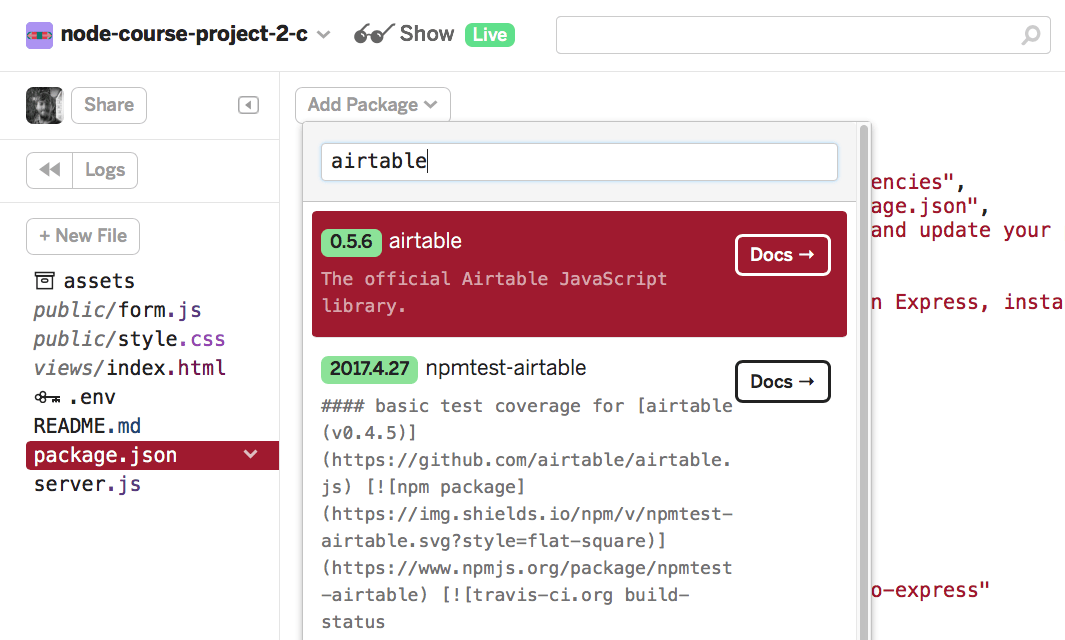
Click it to add it to the project.
Now back to server.js.
Let’s clean up the code a bit. currently this is the file content:
// server.js
// where your node app starts

// init project
var express = require('express');
var app = express();
app.use(express.json())

// we've started you off with Express,
// but feel free to use whatever libs or frameworks you'd like through `package.json`.

// http://expressjs.com/en/starter/static-files.html
app.use(express.static('public'));

// http://expressjs.com/en/starter/basic-routing.html
app.get('/', function(request, response) {
  response.sendFile(__dirname + '/views/index.html');
});

app.post('/form', (req, res) => {
  console.log(req.body.name)
  console.log(req.body.email)

  res.end()
})

// listen for requests :)
var listener = app.listen(process.env.PORT, function() {
  console.log('Your app is listening on port ' + listener.address().port);
});
Let’s first remove the comments, and transform the code to be a little bit more modern, with arrow functions, const, and I remove the semicolons as I like more that style (you don’t need to, if you like them):
const express = require('express')
const app = express()

app.use(express.json())
app.use(express.static('public'))

app.get('/', (req, res) => {
  res.sendFile(__dirname + '/views/index.html')
})

app.post('/form', (req, res) => {
  console.log(req.body.name)
  console.log(req.body.email)

  res.end()
})

const listener = app.listen(process.env.PORT, () => {
  console.log('Your app is listening on port ' + listener.address().port)
})
Let’s add the Airtable.js library, and we initialize the base and table objects:
Airtable.configure({
    apiKey: process.env.AIRTABLE_API_KEY
})

const base = require('airtable').base(process.env.AIRTABLE_BASE_NAME)
const table = base(process.env.AIRTABLE_TABLE_NAME)
Go in the .env file and fill the values of those environment variables:
AIRTABLE_API_KEYAIRTABLE_BASE_NAMEAIRTABLE_TABLE_NAME
We use environment variables because this is the perfect scenario for this kind of thing. By just changing those values, you can adapt the same codebase to work with any other Airtable base, without changing anything else. Also, Glitch makes them private, so even if you decide to make your Glitch app public, those values are hidden:
AIRTABLE_API_KEY=XXXX
AIRTABLE_BASE_NAME=YYYY
AIRTABLE_TABLE_NAME=ZZZZ
Now in the /form POST handler we can create a new record into our Airtable base:
app.post('/form', (req, res) => {
  const name = req.body.name
  const email = req.body.email
  const date = (new Date()).toISOString()

  table.create({
    "Name": name,
    "Email": email,
    "Date": date
  }, (err, record) => {
    if (err) {
      console.error(err)
      return
    }

    console.log(record.getId())
  })

  res.end()
})
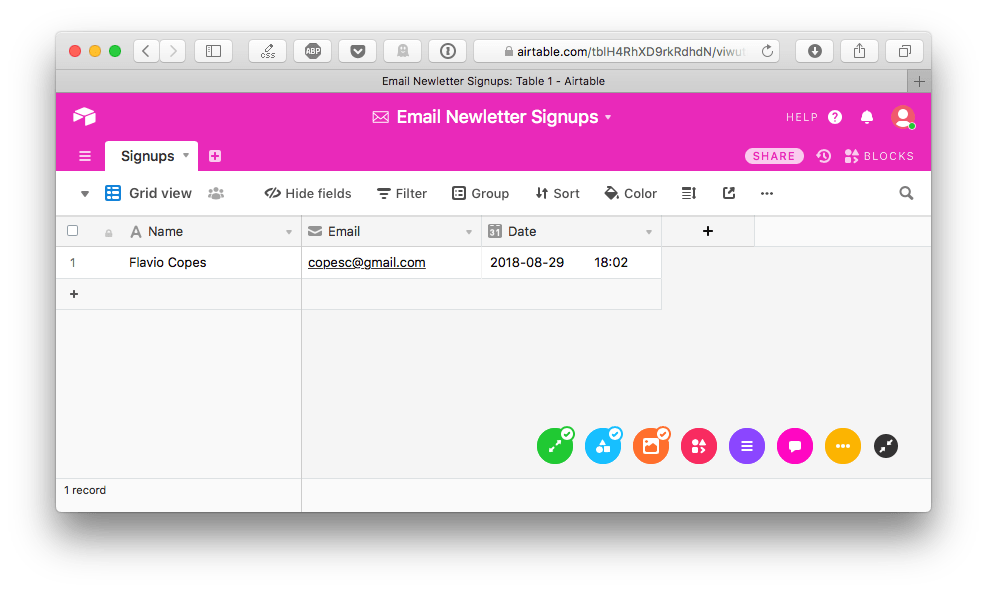
Try it, it should work! You should see the record in Airtable:
We should do something here, though: we need to validate the input our POST endpoint receives. We do so using the express-validator library. See more on that on validating input in Express using express-validator.
Just like we did for Airtable.js, we add express-validator to the package.json file
then we add
const { check } = require('express-validator/check')
and in the post() call, we add an array as the first argument with a list of checks we need to perform. We’ll use the isEmail(), isAlpha(), isLength() checks:
app.post('/form', [
  check('name').isAlpha().isLength({ min: 3, max: 100 }),
  check('email').isEmail()
], (req, res) => {
  const name = req.body.name
  const email = req.body.email
  const date = (new Date()).toISOString()
})
While we’re here, we can add frontend validation as well. We’ll use the same library that express-validator uses under the hoods: validator.js.
Add
<script src="https://cdnjs.cloudflare.com/ajax/libs/validator/10.7.0/validator.min.js"></script>
to views/index.html.
In public/form.js we can reuse the check we added for name. Email is already taken care by the type="email" input field.
if (!validator.isAlphanumeric(name) || !validator.isLength(name, { min: 3, max: 100 })) {
	alert('Name must be alphanumeric and between 3 and 100 chars')
	return
}
Full code:
document.addEventListener("DOMContentLoaded", () => {
  document.querySelector('form').addEventListener('submit', (event) => {
    event.stopPropagation()
    event.preventDefault()

    const name = document.querySelectorAll('form input[name="name"]')[0].value
    const email = document.querySelectorAll('form input[name="email"]')[0].value

	  if (!validator.isAlphanumeric(name) || !validator.isLength(name, { min: 3, max: 100 })) {
		  alert('Name must be alphanumeric and between 3 and 100 chars')
		  return
	  }

    axios.post('/form', {
      name,
      email
    })
  })
})
This should be good as a start!
Let’s add a final piece to the puzzle: when the form is successfully sent, I want to remove all the content from the DOM main element, and add a “Success!” paragraph. We can do so by adding a .then() to the axios.post() call, because that call returns a promise.
In there, we first remove all items from the main tag:
for (const item of document.querySelectorAll('main *')) { item.remove() }
Then I create a p tag with the string:
const p = document.createElement('p')
const text = document.createTextNode('Success!')
p.appendChild(text)
and append it to the main tag:
document.querySelector('main').appendChild(p)
axios.post('/form', {
  name,
  email
}).then(() => {
  for (const item of document.querySelectorAll('main *')) { item.remove() }

	const p = document.createElement('p')
	const text = document.createTextNode('Success!')
	p.appendChild(text)
  document.querySelector('main').appendChild(p)
})
All the code we did in this lesson is available on Glitch :・゚✧